Saturday, December 24, 2016

Goodbye and Happy Holidays!

Hello everyone. I am here and today is very special for me. This is my last post with Gypsy Soul Laser Cuts. Sad but not so sad. I have been with Gina for 4 years now. I have loved every minute of watching her creative process and being on this amazing team as well as having input on different designs in the store. You have no idea how cool it is to be apart of something so amazing. 

So sad because my time has come but at the same time I am so excited to see what the new team creates. I am above and beyond excited for Gypsy Soul Laser Cuts to further make more amazing chipboard pieces and the new team to really kick of the creativeness! 

So I decided to create a quick and simple card as we have been really busy with family, school functions, and getting ready for the holidays! 


*Gypsy Soul Laser Cuts provided me with some product to create this project. This post also contains affiliate links. The opinions I share are solely my own.*

So to start off I cut my cardstock for a card and pulled some pieces of chipboard I wanted to use. 


Then I covered the chipboard with gesso.


Once the gesso dried I painted the mittens with some paint twice for good measure. 


Then I tied some string and placed my snowflakes. 


The next set of snowflakes got a coat of silver stickles and then assembled the card. 


Here is the finished card.


Here you can see the amazing sparkle. 


Layering the snowflakes also created wonderful dimension!


Product Used:

Prima Papers and paint
Silver Stickles

Challenges:


Saturday, December 10, 2016

Peace on Earth

Hello everyone. I wanted something I could gift away as a present. I thought with it being Christmas time a 8x10 canvas would be amazing. So I created a canvas for Gypsy Soul Laser Cuts. 

*Gypsy Soul Laser Cuts provided me with some product to create this project. This post also contains affiliate links. The opinions I share are solely my own.*

I started with priming my pieces with gesso.


Then I used a stencil with some texture paste. 


Once the paste is dry I used some sprays to add color. 


I used some chalk inks and gold spray on the lamp. 


Then I just put it all together on my canvas. I added the Peace on Earth sentiment and the flower arrangement. Here are some close-ups. I hope you enjoyed. 


Products Used:


Prima Chalk Inks, Stencils, Flowers and Modeling Paste
Lindy's Stamp Gang Sprays - Queen of Hearts and Winter Jasmine Gold(Retired) 

Challenges:
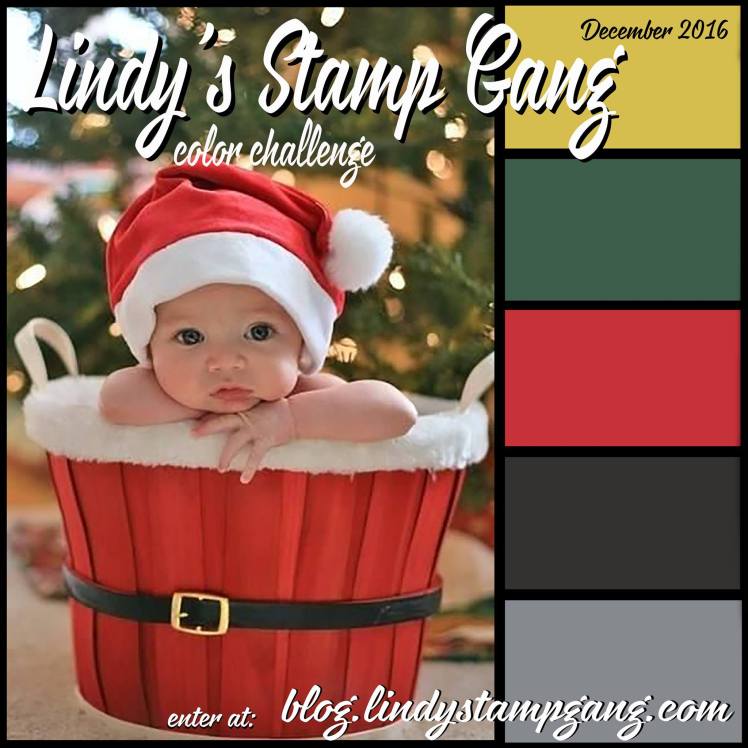
lindys-gang-december-color-challenge

Tuesday, December 6, 2016

Christmas Colors

Hello everyone. I took a Summer break from The Inky Chicks challenge. I am back to coloring again. 


I must say I need to do a refresh on my copics. Some of the nibs are just downright sad and ruined or some dried out and I didn't even notice.  So bare with me with my return to coloring. 

I have been doing mixed media creation for so long I am so out of practice! 

So up this challenge we are doing Christmas Cards in Traditional Colors! Winner will get 3 digi images! So make sure you join in the challenge.


I colored this cute image which was provided by Aliciabel.


I stamped the sentiment and popped it up with some pop dots.


I couldn't resist adding some glitter. It also helped cover up some messes from my markers! I think the sparkle was just the key to make this card pop!


Thank you so much for stopping by and don't forget to come back for more!

Saturday, November 26, 2016

Christmas Countdown


Hello to you all Gypsy Soul Laser Cuts has been busy adding some new fun holiday chipboard to the store. I altered the new Countdown Tree (coming soon) with some vintage touches. I really like it and it isn't too much or too flashy for my counter. My daughter was beyond happy to have something to countdown the days to Christmas! 

*Gypsy Soul Laser Cuts provided me with some product to create this project. This post also contains affiliate links. The opinions I share are solely my own.*

First I painted the tree with some chalk paint.


Then I went and added some tissue paper with some matte medium and squished the paper on to create texture. 


I went around with a wet paint brush on the edges and then ripped the rest of the paper off. 


While that dried I used a candle to scrub wax randomly on my date tags. 


Then I brushed a light coat of chalk paint on top of the date tags. 


Once the paint dries use something to scrub the wax off like a popsicle stick or like a coin... just like those ticket scratches offs! 


Once the tree is dry I went to town with a stamp and some black ink. 


Now the black ink was a little too bright so I went over the tree again with some watered down chalk paint that I added a little bit of black ink to so it was a little gray. 


Then after it sat a little I used a baby wipe to blotch it off. 


Next I decided to glue the tree into the base with some tacky glue. 


I inked around the edges with some chalk inks.


Then I decided to fancy up my date tags with some stamps and embossing powder. 


I glued the numbers on top and I made sure everything was inked around the edges to match the tree. 


For the Days Until Christmas I went ahead and embossed these as well. 


Then I just put it together with some string, jingle bells, clothespins, and some wood pieces made to look like presents for the words to sit on. 


So for some close ups of the project!


Products used:

Christmas Countdown - Coming Soon

Saturday, November 12, 2016

Christmas Ornament


Well with Christmas literally right around the corner I thought it would be great to get started on some Christmas creations. 

Did you know that Gypsy Soul Laser Cuts now has these cool chipboard ornaments? You can create your special ornaments with family and friends or maybe even do an ornament swap! 

So I got started. There are two clear pieces so you can create a window style ornament. I didn't make a full window ornament. I enclosed it. 

*Gypsy Soul Laser Cuts provided me with some product to create this project. This post also contains affiliate links. The opinions I share are solely my own.*


First I traced the full ornament shape twice as I need a full back piece and a front piece.  


Next I glued down the back of the ornament with the inside of the circle down since I did not want o make it fully see through. 


Here you can see it glued down and then I covered the top of it. 


I decided to use a foil adhesive rub on the ornament for the center. 


I used a red foil to to cover the adhesive. 


Then I added the next layer of the ornament you can see how it started adding dimension. 


Now for the top layer of the of the ornament I am using 3d gloss gel to add the clear window piece. 


I stuck the next piece on top of the clear and used binder clips to hold it down and in place while it dried. 


Once it dries paint it. You can also paint before you adhere the window panel. I just wasn't sure what color I wanted to paint it yet. 


Then add some glitter and sequins or beads, really whatever you would love in your ornament. Then adhere the ornament closed. 


I decided to add some glass glitter on the outside of the ornament. I used 3d Gloss Gel again and then rolled and sprinkled some chunky glass glitter to the sides. 


Then enjoy your creation or make more. 


Product Used:
Double Sided Ornament - Coming Soon